
Are you still using Windows 7? Perhaps your PC doesn't meet the high hardware requirements to install Windows 10 or Windows 11 officially. But that doesn’t mean you have to stick with the old "Aero" look.
In this guide, I will show you how to install a high-quality Windows 10 theme on your Windows 7 (both 32-bit and 64-bit) to get that modern, flat UI experience.
Pro Tip: If your PC is slow, the best way to speed it up for a real Windows 10 experience is by upgrading to an SSD. [Check Best Budget SSDs on Amazon] (https://www.amazon.com/Best-Sellers-Internal-Solid-State-Drives/zgbs/pc/1292116011)
.png)


To apply third-party themes, you must patch your Windows system.
Open the "Universal Theme Patcher" folder.
 2. Run the version compatible with your OS (32bit or 64bit).
 3.Click the "Patch" button for all three files shown in the window.


Now, let’s move the theme files to the system directory.
Navigate to:
Windows 10 Theme for Windows 7 folder > Windows 10 Themes.Copy all files inside that folder.
Go to
C: Drive > Windows > Resources > Themesand Paste them there.Right-click on your desktop, select Personalize, and choose your favorite Windows 10 theme from the list.


Want the Windows 10 logo while starting up?
Open the "Win 7 Boot Updater" tool.
Go to
File > Load Boot Skin.Select the boot screen file from the
Windows 10 Extras > Boot Screenfolder.Click Apply.


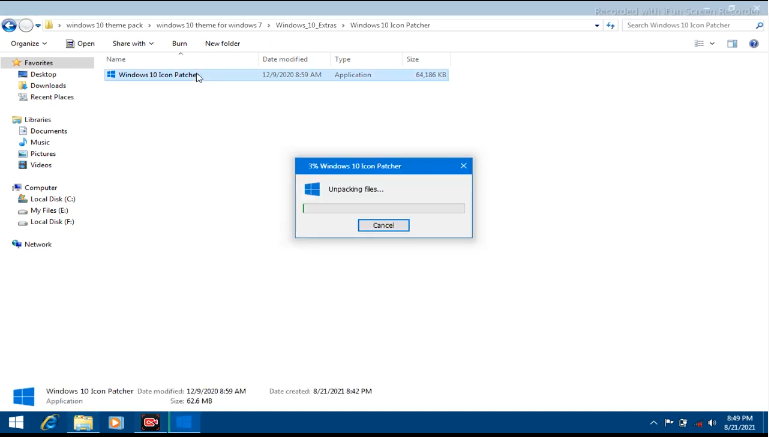
Open the "Windows 10 Icon Patcher" folder.
Run the software and it will create an icon on your desktop.
Right-click that desktop icon and select "Run as Administrator".
A Command Prompt (CMD) will open. Press "1" and hit Enter to start patching.
Press "Y" and Enter to restart your PC. Your icons will now look like Windows 10!


Finally, the most important part!
Download and install the "Start Menu 10" software.
During installation, choose the "Free Version".
Once installed, your old Windows 7 Start menu will be replaced with a beautiful, functional Windows 10 style menu.
.png)


Conclusion
Your Windows 7 is now fully transformed! You get the modern aesthetics of Windows 10 without needing a high-end PC.
Wait! If you eventually want to move to the real Windows 10 for better security, make sure you have a genuine license.
[Get Genuine Windows 10 Pro Keys at Discount] (https://support.microsoft.com/en-us/windows/activate-windows-c39005d4-95ee-b91e-b399-2820fda32227)
is
ReplyDeletepasinfumadewa
ReplyDeletePost a Comment